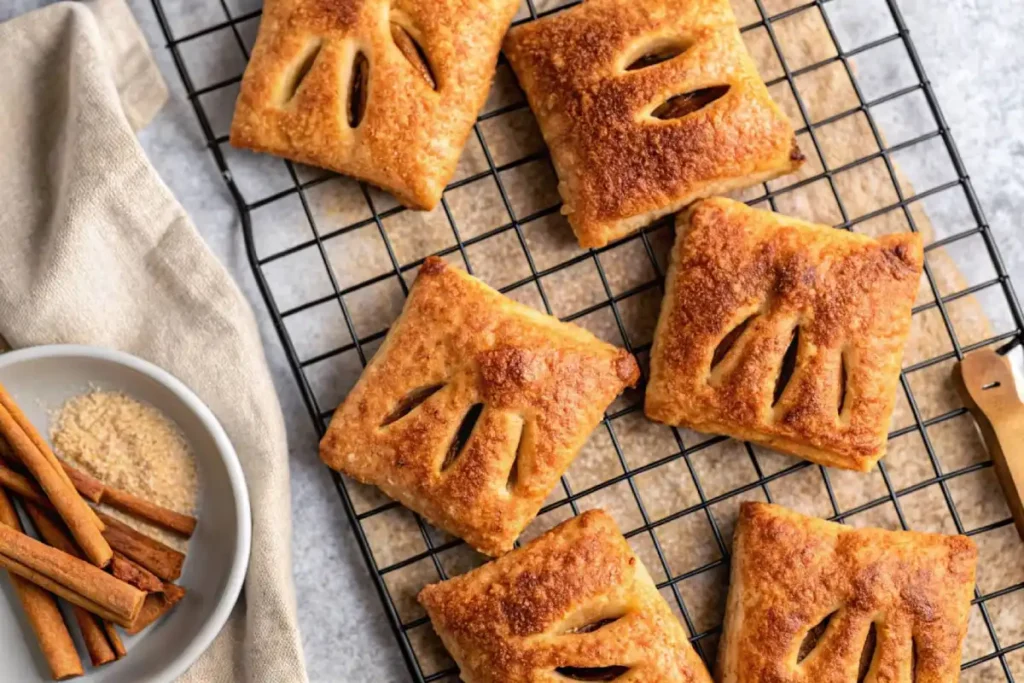
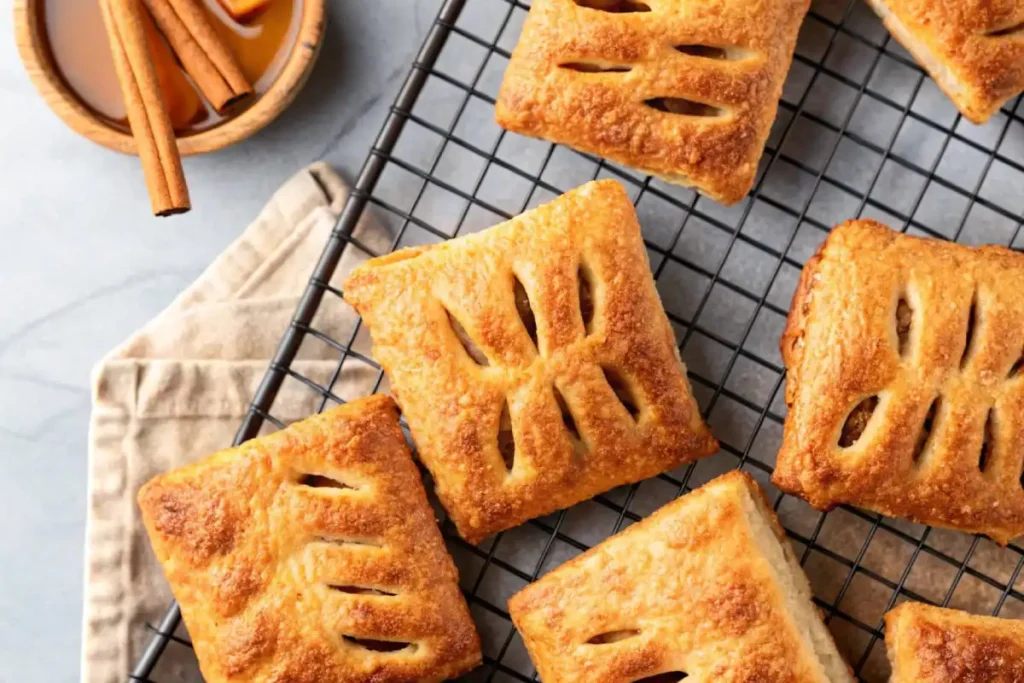
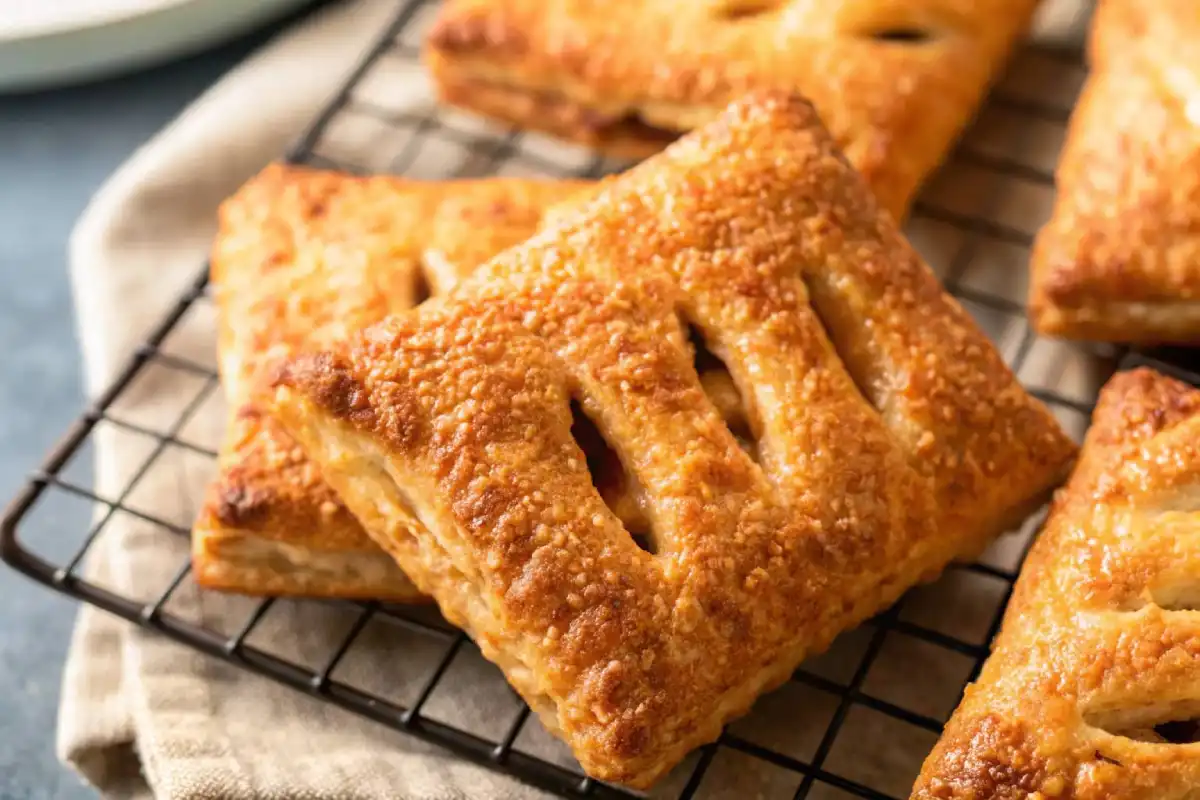
Fall is in the air, and you know what that means—it’s time to bake something cozy, delicious, and full of those warm autumn spices we all love. One treat that’s guaranteed to steal the spotlight this season? Pumpkin Hand Pies. These adorable, golden-brown pies are the perfect mix of sweet and flaky, combining a buttery crust with a spiced pumpkin filling that will have you reaching for seconds (or thirds, no judgment!).
But what makes them so special? These pies aren’t just tasty—they’re also super convenient! Imagine the warm, comforting flavors of a full-sized pumpkin pie, wrapped up in a cute, portable package you can hold in your hand. Whether you’re hosting a fall gathering, packing snacks for a picnic, or just craving something pumpkin to go with your morning coffee, these mini pumpkin pies are the perfect solution.
Table of Contents
Why Pumpkin Hand Pies Are Perfect for Fall Gatherings
There’s something magical about autumn, isn’t there? The crisp air, the crunchy leaves, and the smell of cinnamon and nutmeg in the kitchen—it’s like the season was made for baking. And when it comes to fall parties or cozy nights at home, pumpkin hand pies are a total crowd-pleaser. Their small size makes them easy to serve, and they’re just as easy to eat—no plates, forks, or messy crumbs to worry about.
Picture this: You’re hosting a Halloween party, and you’ve got a tray of these golden pies fresh out of the oven. The flaky crust crackles as your guests take a bite, revealing the soft, spiced pumpkin filling inside. It’s a moment of pure fall bliss! And if you’re looking for an extra-special touch, you can even use a pumpkin cookie cutter to give your pies a festive shape. How cute is that?
Ingredients You’ll Need
Ready to get baking? Here’s what you’ll need to make these delightful easy pumpkin hand pies. Don’t worry—it’s a short and simple list, so you can whip these up without a trip to a specialty store. Plus, if you’ve got some pantry staples and a can of pumpkin puree lying around, you’re already halfway there!
- Refrigerated pie crusts: These save so much time and give your pies that perfect flaky texture. Each package usually comes with two sheets, which is exactly what you’ll need.
- Pumpkin puree: Not to be confused with pumpkin pie filling! You’ll want the plain kind here—just 100% pumpkin goodness.
- Brown sugar: Adds the perfect touch of sweetness and a hint of caramel flavor.
- Spices: Cinnamon, ginger, nutmeg, and cloves. This warm blend will give your filling that classic fall flavor.
- Vanilla extract: A little splash goes a long way in enhancing the sweetness.
- Egg: This is for the egg wash, which gives the pies their beautiful golden-brown color when baked.
- Granulated sugar: A sprinkle on top adds a lovely crunch and sweetness.
And that’s it! See? Nothing too fancy—just good, wholesome ingredients that come together to create something amazing. If you want to get creative, you can even add a pinch of cardamom to the filling (a tip I borrowed from Chef Martha Stewart). It adds a subtle, exotic twist that takes the flavor to the next level.

The Recipe: How to Make Pumpkin Hand Pies
Alright, it’s time to roll up our sleeves and start baking! Here’s the step-by-step recipe to make these mini pumpkin pies. Trust me, it’s easier than you think—and the results are so worth it.
Ingredients
- 1 package (2 sheets) refrigerated pie crusts
- 1/2 cup pumpkin puree
- 2 tablespoons brown sugar
- 1/2 teaspoon ground cinnamon
- 1/4 teaspoon ground ginger
- 1/4 teaspoon ground nutmeg
- 1/4 teaspoon ground cloves
- 1/4 teaspoon vanilla extract
- 1 large egg (for egg wash)
- 1 tablespoon granulated sugar (for sprinkling)
Looking for a little twist? You might enjoy experimenting with fillings inspired by this Cinnamon Sugar French Toast Muffins recipe for a breakfast-themed hand pie.
Instructions
- Preheat your oven to 375°F (190°C) and line a baking sheet with parchment paper. This step guarantees your pies won’t stick and makes cleanup effortless.
- Roll out the pie crusts and use a pumpkin cookie cutter (or a round cutter if you prefer) to cut out as many shapes as possible. You should get about 8 circles total from the two sheets.
- In a small bowl, mix the pumpkin puree, brown sugar, cinnamon, ginger, nutmeg, cloves, and vanilla extract until smooth.
- Spoon about 1 tablespoon of the filling onto the center of half the dough circles.
- Place the remaining dough circles on top, then seal the edges by pressing down with a fork. It’s like tucking the filling in with a cozy blanket!
- Brush the tops with the beaten egg and sprinkle with granulated sugar. This step gives the pies their gorgeous, glossy finish.
- Use a sharp knife to cut a small slit on top of each pie—this lets the steam escape while baking.
- Bake for 20-25 minutes, or until the pies are golden brown and crispy. Give them a few minutes to cool before serving.
That’s it! In less than 30 minutes, you’ll have a tray of warm, delicious hand pies that are perfect for any occasion.
Serving and Storage Tips
Once your pumpkin hand pies are fresh out of the oven, the possibilities for serving them are endless. These pies are wonderfully versatile, and with a few fun ideas, you can easily elevate them into a show-stopping treat. Let’s talk about how to serve them and keep them fresh for later!

How to Serve Pumpkin Hand Pies
If you’re feeling indulgent, try serving these mini pumpkin pies warm with a drizzle of caramel sauce over the top. The caramel’s rich sweetness perfectly complements the spiced pumpkin filling and buttery crust. For an extra-special touch, add a scoop of vanilla ice cream on the side—it’s like fall in dessert form!
These pies are also fantastic with a cup of coffee or tea. Imagine dunking a crispy, flaky pie into your morning cup of joe. Doesn’t that sound like the coziest start to a fall day?
Hosting a party? Arrange the hand pies on a rustic wooden board with little bowls of whipped cream, chocolate sauce, or even maple syrup for dipping. Pair them with a side of Blueberry Bagels to create a stunning dessert spread. You could also make an assortment of shapes with a pumpkin cookie cutter for a festive touch. Your guests will think you’re a genius!
Storing Your Pumpkin Hand Pies
If you’ve got leftovers (though I doubt that’ll happen), storing these pies is super simple. Place them in an airtight container and refrigerate them for up to three days. Before serving, just pop them in a toaster oven or microwave to reheat. They’ll taste just as amazing as they did fresh out of the oven!
Want to make a big batch in advance? No problem! These pies freeze beautifully. Once they’re baked and cooled, layer them in a freezer-safe container with parchment paper in between to prevent sticking. They’ll keep in the freezer for up to a month. When you’re ready to enjoy them, simply reheat in the oven at 350°F (175°C) until warm and crispy.
Helpful Notes
Baking doesn’t have to be stressful! Here are some handy tips to ensure your easy pumpkin hand pies turn out perfect every time.
- Homemade vs. store-bought crust: While this recipe uses refrigerated pie crusts for convenience, you can use homemade pie dough if you’ve got the time. A scratch-made crust will give you that next-level flaky texture.
- No cookie cutter? No problem! If you don’t have a pumpkin cookie cutter, just grab a drinking glass to cut out round shapes. You could even experiment with fun shapes like leaves or stars.
- Mind the filling: Be careful not to overfill your pies! About one tablespoon of filling per pie is just right. Too much, and you’ll risk the filling oozing out while baking.
- Extra golden crust: For an extra golden, glossy finish, sprinkle a pinch of turbinado sugar (or raw sugar) over the egg wash before baking.
Remember, baking is as much about experimenting as it is about following a recipe. Don’t be afraid to get creative!
Tips from Well-Known Chefs
If you’re looking for a way to take your pumpkin filling recipes to the next level, try this pro tip from Chef Martha Stewart: Add a tiny pinch of cardamom to the filling. This spice has a subtle citrusy flavor that pairs beautifully with pumpkin and adds an unexpected twist. Your guests will be asking for your secret ingredient!
Another clever trick? Brush a little melted butter on the crusts just before serving for an extra layer of flavor. It’s a small touch, but it makes a big difference.
Perfect for Fall Gatherings
Pumpkin hand pies are more than just a dessert—they’re a celebration of everything we love about fall. Their warm spices, flaky crusts, and adorable shapes make them ideal for every occasion, from casual family dinners to elaborate Thanksgiving feasts. Their portable size also makes them a hit at fall picnics, where you can enjoy these little bites of autumn while surrounded by colorful leaves and crisp air.
Speaking of Thanksgiving, these Thanksgiving hand pies are a fun way to switch up your dessert table. Instead of slicing a traditional pumpkin pie, let your guests grab one of these mini delights. They’re easy to serve and eliminate the hassle of cutting and plating. Plus, you can prepare them ahead of time and reheat them just before dessert. Talk about a win-win!
So, the next time you’re looking for a festive treat, remember these easy pumpkin hand pies. Whether you’re serving them at a party or enjoying them with your morning coffee, they’re guaranteed to bring a little extra magic to your fall season.
Why You’ll Love This Recipe
Not only are these easy pumpkin hand pies delicious, but they’re also fun to make. Their small size makes them perfect for gifting, and the recipe is adaptable for any flavor preference. Whether you’re baking for fall gatherings, Halloween parties, or Thanksgiving, these hand pies are a guaranteed hit!
If you’re looking for other festive ideas, don’t miss this recipe for 10 Stunning Heart Cake Designs—perfect for impressing guests all year round.
Frequently Asked Questions
Do you have questions about making these adorable pumpkin hand pies? Don’t worry—I’ve got you covered! Here are some common questions people have when baking these treats, along with helpful answers to make the process even smoother.
Can I Make the Filling Ahead of Time?
Absolutely! If you’re planning to save time, you can prepare the pumpkin filling up to two days in advance. Just mix the pumpkin puree, spices, sugar, and vanilla extract, then store it in an airtight container in the refrigerator. When you’re ready to bake, take it out, stir it, and you’re good to go.
Can I Freeze the Hand Pies?
Yes, and they freeze beautifully! Once your hand pies are baked and cooled, place them in a freezer-safe container or zip-top bag, layering parchment paper between them to prevent sticking. They’ll last for up to a month. When you’re ready to enjoy them, simply reheat in the oven at 350°F (175°C) until they’re warm and flaky again. This makes them perfect for prepping ahead of time, especially during the busy holiday season.
Can I Use Different Fillings?
Of course! While the spiced pumpkin filling is a classic, no rule says you can’t get creative. Try swapping it out for apple pie filling, cherry preserves, or even chocolate hazelnut spread for a fun twist. The basic recipe stays the same—you’re just switching up the center. These variations are perfect for anyone who loves experimenting in the kitchen.
Do I Need to Use an Egg Wash?
Technically, no, but I highly recommend it. The egg wash is what gives your pies that beautiful golden-brown color and a glossy finish. Without it, they’ll still taste great, but they won’t have the same eye-catching appearance. If you’re avoiding eggs, you can substitute with a bit of milk or cream instead for a similar effect.
What If I Don’t Have a Cookie Cutter?
No cookie cutter? No problem! Use the rim of a drinking glass to cut out circles from the pie crust. If you want a festive look but don’t have a pumpkin cookie cutter, try freehanding a pumpkin shape with a knife. Remember, these pies don’t have to look perfect—they just have to taste amazing!
Conclusion
Pumpkin hand pies are the ultimate fall treat, blending all the best flavors of the season into one cute and portable dessert. With their flaky crust, warm spiced pumpkin filling, and endless serving options, these pies are as versatile as they are delicious. Whether you’re baking them for a cozy night at home, a festive Halloween party, or a Thanksgiving dinner, they’re sure to be a hit with family and friends alike.
What makes these pies even better is how easy they are to customize. You can experiment with different fillings, shapes, and toppings to make them your own. Add a drizzle of caramel, a sprinkle of powdered sugar, or even a scoop of vanilla ice cream for an extra special touch. Plus, their small size makes them perfect for gifting—wrap them in parchment paper, tie them with twine, and you’ve got an adorable homemade present for neighbors or coworkers.
So, what are you waiting for? Grab your ingredients, preheat that oven, and get ready to fill your home with the cozy smell of fall spices. Trust me, once you take a bite of these easy pumpkin hand pies, you’ll wonder how you ever celebrated autumn without them. Whether you’re a seasoned baker or a total beginner, this recipe is foolproof and oh-so-rewarding.
Happy baking—and don’t forget to share your creations with friends and family. After all, the best thing about baking is sharing the love (and the deliciousness!).
Print
Pumpkin Hand Pies
- Total Time: 40 minutes
- Yield: 8 hand pies
- Diet: Vegetarian
Description
Bake irresistible pumpkin hand pies with a flaky crust and a rich pumpkin filling. A fun and easy dessert for a fall treat that’s great for gatherings.
Ingredients
- 1 package (2 sheets) refrigerated pie crusts
- 1/2 cup pumpkin puree
- 2 tablespoons brown sugar, packed
- 1/2 teaspoon ground cinnamon
- 1/4 teaspoon ground ginger
- 1/4 teaspoon ground nutmeg
- 1/4 teaspoon ground cloves
- 1/4 teaspoon vanilla extract
- 1 large egg (for egg wash)
- 1 tablespoon granulated sugar (for sprinkling)
Instructions
- Preheat the oven: Preheat your oven to 375°F (190°C) and line a baking sheet with parchment paper to prevent sticking.
Prepare the crust: Roll out the refrigerated pie crusts on a lightly floured surface. Using a pumpkin cookie cutter or a round cutter (approximately 4 inches in diameter), cut out an equal number of dough shapes (about 16).
Make the filling: In a small bowl, mix the pumpkin puree, brown sugar, cinnamon, ginger, nutmeg, cloves, and vanilla extract until well combined.
Assemble the pies: Spoon about 1 tablespoon of the pumpkin filling onto the center of half the dough shapes. Place the remaining dough shapes on top, aligning the edges. Use a fork to press and seal the edges securely.
Add finishing touches: Beat the egg in a small bowl and brush the tops of the pies with the egg wash. Sprinkle granulated sugar on top for added sweetness and crunch. Use a sharp knife to cut a small slit or “X” in the top of each pie to allow steam to escape.
Bake: Transfer the hand pies to the prepared baking sheet and bake for 20–25 minutes, or until the pies are golden brown and crispy.
Cool and serve: Let the pies cool for a few minutes before serving. Enjoy warm for the best flavor or store for later!
Notes:
- If desired, serve with caramel sauce or a scoop of vanilla ice cream for an extra indulgent treat.
- These hand pies can be stored in an airtight container in the refrigerator for up to 3 days or frozen for up to 1 month.
- Prep Time: 15 minutes
- Cook Time: 25 minutes
- Category: Dessert
- Method: Baking
- Cuisine: American
